

The default Customize WooCommerce Product setup provides a functional product listing page, but it may not fully align with your brand or meet your specific needs.Customizing this page allows you to:
- Optimize layout and navigation to improve user experience.
- Highlight specific products or categories.
- Align the design with your brand identity.
- Improve conversion rates by optimizing the presentation of products.
How to Change Product List Page Layout in WooCommerce
Altering the layout of your product listing page can significantly impact how customers interact with your store. Here are several methods to change the layout:
1. Using a Page Builder Plugin
Page builders like Elementor, Beaver Builder, or WPBakery allow you to design custom layouts without coding.
Steps:
- Install and activate your chosen page builder plugin.
- Make a new page or make changes to an already-existing one.
- Use the builder’s widgets to add product grids, categories, and other elements.
- Customize the layout by adjusting columns, spacing, and styles.
2. Modifying Theme Settings
Many WooCommerce-compatible themes offer customization options for product listing pages.
Steps:
- In the WordPress dashboard, select Appearance > Customize.
- Look for WooCommerce or Shop settings.
- Adjust layout options such as the number of products per row, sidebar positions, and pagination styles.
- Save changes and preview the updated layout.
3. Editing Template Files
You can directly change WooCommerce template files for more intricate customisation.
Steps:
- Use a file manager or FTP to access the folder containing your theme.
- Locate the WooCommerce templates, typically in the /woocommerce/ directory.
- Copy the template file you wish to edit (e.g., archive-product.php) to your theme’s folder.
- To alter the layout, make the required HTML and PHP changes.
- Save the file and refresh your shop page to see the changes.
- Note: Always use a child theme when editing template files to prevent losing changes during theme updates.
How to Customize WooCommerce WordPressProduct Page in WordPress
Customizing individual product pages allows you to provide detailed information and a unique experience for each product.
1. Utilizing WooCommerce Hooks
WooCommerce provides hooks that let you add or remove content without modifying core files.
Common Hooks:
- woocommerce_before_single_product – Add content before the product details.
- woocommerce_after_single_product – Add content after the product details.
- woocommerce_single_product_summary – Modify the product summary section
2. Using Custom Fields
Add additional information to products using custom fields.
Steps:
- The Advanced Custom Fieldsplugin has to be installed and activated.
- A new field group should be created and assigned to goods..
- Add custom fields such as specifications, videos, or FAQs.
- Edit your product template to display these fields using ACF functions.
3. Implementing Shortcodes
WooCommerce shortcodes allow you to display products and other elements within pages or posts.
Examples:
- [product_page id=”123″] – Display a specific product.
- [items limit=”4″ category=”shirts” columns=”2″] – Display four items in two columns under the “shirts” category.
Usage:
- Insert shortcodes into pages, posts, or widgets to customize the display of products.
Best Practices for Customizing WooCommerce Pages
- Use Child Themes: Always create a child theme before making changes to templates to preserve customizations during updates.
- Backup Regularly: Before making significant changes, back up your website to prevent data loss.
- Test Changes: Use a staging environment to test customizations before applying them to your live site.
- Optimize for Mobile: Ensure that your custom layouts are responsive and function well on mobile devices.
- Monitor Performance: After customization, check your site’s loading speed and optimize as needed to maintain a smooth user experience.
Conclusion
Customizing your WooCommerce product listing and individual product pages enhances the shopping experience and aligns your online store with your brand identity. Whether through page builders, theme settings, or direct code modifications, WooCommerce offers the flexibility to create a unique and effective e-commerce platform. Always follow best practices to ensure that your customizations are sustainable and do not negatively impact your site’s performance.
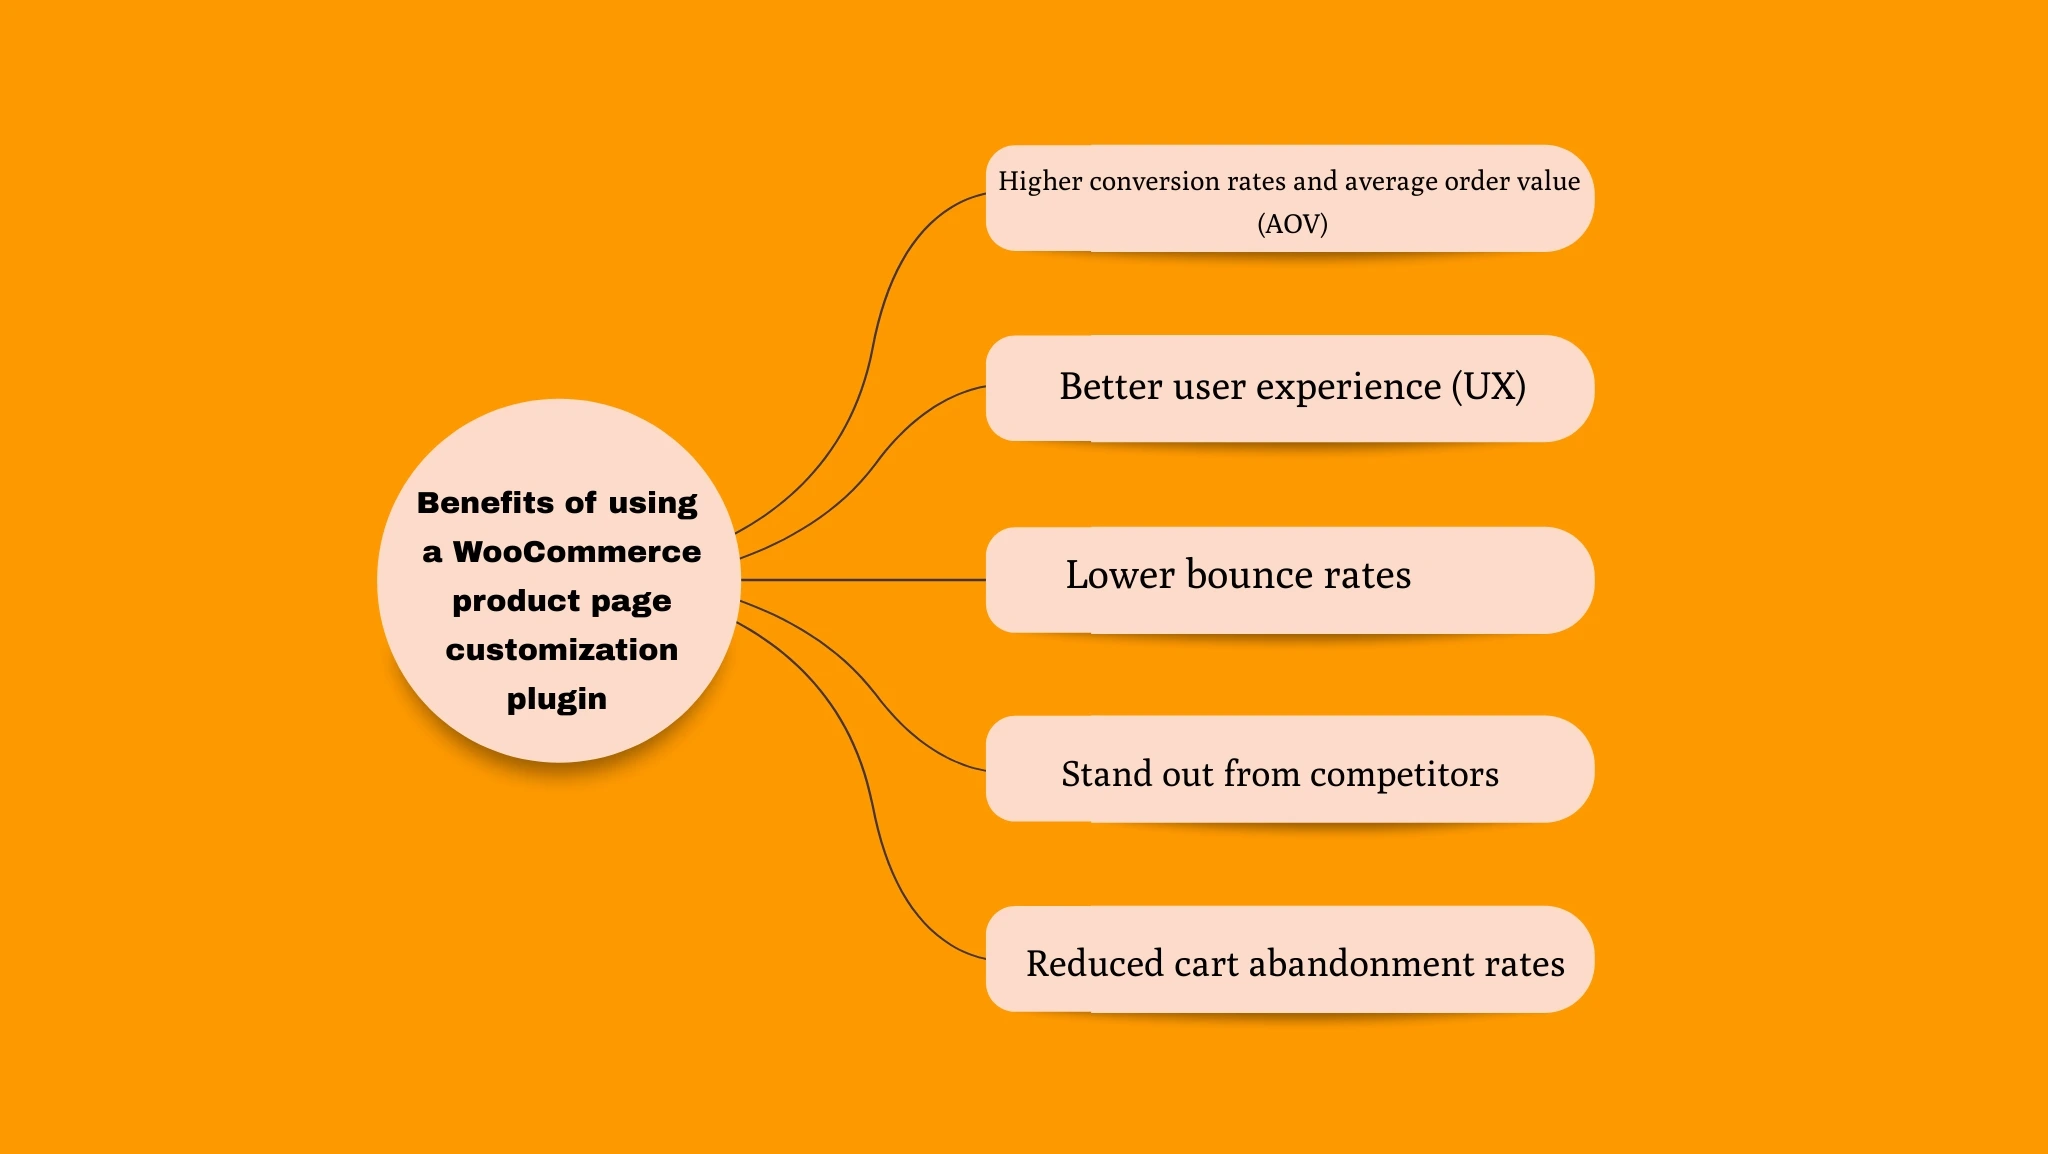
Curious how to increase sales and improve your WooCommerce store? Discover the key benefits of product page customization plugins—and learn how to apply them for better conversions, lower bounce rates, and a standout shopping experience. Dive into our complete guide today!
How Can I Programmatically Modify My WooCommerce Product Page?
If you’re comfortable working with code, customizing your WooCommerce product page programmatically offers incredible control. You can tailor the layout, add custom features, or remove default elements to fit your store’s exact needs.
Why Go the Programmatic Route?
Customizing programmatically might sound intimidating, but it’s often the best way to ensure your changes are lean, efficient, and future-proof. Unlike visual editors or plugins, coding allows you to:
- Avoid plugin bloat that slows down your site.
- Create lightweight, precise changes to templates.
- Integrate complex logic, such as showing different content based on product categories or user roles.
Tools You’ll Need:
- Use a child theme instead of directly changing the parent theme.
- An editor for coding (like Visual Studio coding or Sublime Text).
- FTP access or a file manager.
- Basic PHP knowledge.
1. Override WooCommerce Template Files
WooCommerce product page templates include single-product.php and content-single-product.php.
Here’s how you override them:
- Navigate to /wp-content/plugins/woocommerce/templates/.
- Locate the file (such as single-product.php) that you wish to modify.
- Copy it into your child theme’s WooCommerce folder: /wp-content/themes/your-child-theme/woocommerce/
- Edit it from there. WooCommerce will use your version instead of the default.
2. Use WooCommerce Hooks
Hooks (actions and filters) are WooCommerce’s best friend. They allow you to insert or modify content without editing the template directly.
3. Add Custom Fields with ACF
Using the Advanced Custom Fields plugin is a great way to add and display additional info.
Steps:
- Install ACF.
- Create a Field Group and assign it to products.
- Add fields like “Manufacturer Info.”
- Edit your template to display the field:
How Do I Edit the Product Detail Page in WooCommerce?
The “Product Detail Page” is what users see when they click a specific product — it includes the image gallery, price, variations, and the “Add to Cart” button.
Here’s how to make meaningful edits:
1. Rearranging Elements with Hooks
Each section on the product page has a specific hook and priority. You can rearrange sections by altering them.
2. Customize the Product Tabs
By default, WooCommerce displays the three tabs: Reviews, Additional Information, and Description.
3. Add Product Videos
Want to make your pages more engaging? Add videos near the product image or in the tabs section.
Final Thoughts
Customizing your WooCommerce product page — whether via layout tweaks, adding useful content, or completely redesigning the detail view — makes a real difference in how users experience your store.
If you’re comfortable with a bit of coding, using template overrides and WooCommerce hooks is the most effective and scalable approach. For those looking for a no-code route, plugins like Elementor or ACF offer powerful options too.
The bottom line? A well-crafted product page doesn’t just look good — it builds trust, answers questions, and guides users to click that “Add to Cart” button.
How Can I Personalize My WooCommerce Order Page?
When we talk about the order page in WooCommerce, we’re usually referring to two key areas:
- The “My Account > Orders” section, where customers can view their past purchases.
- The Order Confirmation/Thank You page, which users see after completing a purchase.
Customizing both pages can drastically improve the post-purchase experience, build customer trust, and even encourage repeat orders. Let’s break down how you can customize each in a practical, approachable way.
1. Customizing the “My Orders” Section in My Account
This section displays a list of all customer orders, including the order number, date, status, and total. While WooCommerce does a good job by default, you might want to:
- Add custom columns (e.g., shipping method or order notes).
- Rename existing columns.
- Change the layout or design to match your brand.
2. Customizing the Order Details Page
When users click into a specific order, they see the order details page. This includes billing/shipping info, items purchased, totals, and notes. You might want to:
- Add extra product info (like warranty).
- Display downloadable documents (PDF invoice, manual).
- Include loyalty points, next steps, or tracking links.
3. Customizing the Thank You Page (Order Received)
The “Thank You” page is where you can really make an impression. After all, this is your last interaction before customers leave the site — why not leave a great one?
Final Tips for WooCommerce Order Page Customization
- Use child themes to safely apply PHP changes.
- Back up before editing theme or plugin files.
- To prevent impacting live users, test modifications on a staging site.
- Combine with plugins like “WooCommerce Custom Thank You Pages” or “Custom My Account for WooCommerce” if you prefer less code.
Wrapping Up
Customizing your WooCommerce order pages helps turn a routine process into a branded, thoughtful experience. Whether you’re adding columns, personalizing thank-you messages, or including bonus content, these small tweaks can strengthen customer loyalty and set your store apart.
How Do I Customize My WooCommerce Product Listing Page (Free Example)?
If you’ve just set up your WooCommerce store, you might be wondering how to tweak the product listing page — the one that shows all your products in a grid or list. The good news? You don’t have to spend money to start customizing it.
Here’s a free and simple example:
Step-by-Step: Customize Product Grid Without Paying for a Plugin
- In the WordPress Dashboard, select Appearance > Customize.
- Navigate to WooCommerce > Product Catalog.
- Here, you can:
- Choose what the shop page displays (products or categories).
- Decide how many products will show up on each page and row.
- Adjust how products are sorted by default.
How to Use Elementor to Edit a WooCommerce Product Page (Free)
If you’ve heard about Elementor, you know it’s one of the most popular WordPress page builders — and yes, the free version is still incredibly useful.
You can’t fully design WooCommerce single product templates with the free version alone (that’s a Pro feature), but you can edit certain parts around your product page, especially if your theme is Elementor-compatible.
Here’s How:
- Install Elementor (if you haven’t yet).
- After selecting Pages > Shop, select Edit with Elementor.
- Use Elementor’s widgets to:
- Add banners or headings above the product grid.
- Insert images, testimonials, or trust badges.
- Control margins, spacing, and colors.
If your theme supports Elementor, some parts of the WooCommerce layout may already be “Elementor-ready.” It’s a great way to add custom sections around your product content without touching code.
How to Use Elementor to Edit a WooCommerce Product Page (Free)
You may not be able to edit the core layout of the product page using Elementor Free, but you can still add custom content using shortcodes or by customizing theme templates.
Alternative: Add Elementor Sections Below the Product Description
Here’s a clever workaround:
- Create a new Elementor Section as a reusable template.
- Use the Shortcode Widget and add this where needed:
Wrapping Up
Even with a tight budget, you can get a great-looking WooCommerce store by mixing the built-in customizer, some light CSS, and Elementor’s free version. Whether you’re tweaking your product grid layout or injecting new content into the product page, there are creative (and free!) ways to make it your own.
How Do I Customize My WooCommerce Product Listing Page (Free Example)?
When customers visit your shop, the product listing page is their first real impression. It’s where they browse your items, decide what they’re interested in, and compare options. So making this page feel organized, appealing, and on-brand is essential — and yes, you can do it for free.
Start with What WordPress and WooCommerce Already Offer
You don’t need a premium plugin to make basic changes. Start by heading to your WordPress dashboard, then go to Appearance > Customize > WooCommerce > Product Catalog. This section lets you make useful tweaks, like:
- Choosing whether to show products, categories, or both on the shop page
- Changing how many products show per row
- Adjusting the number of products per page
- Selecting the default sorting method (price, popularity, etc.)
These may seem like small tweaks, but they add up to a cleaner browsing experience and help users find what they need more quickly.
Make Your Product Grid More User-Friendly
Want to make the listing feel more organized and intuitive? Here are a few practical ideas you can implement even with a basic theme:
- Use clear, consistent product images: Square images with good lighting make your catalog look professional.
- Write short, scannable titles: Avoid overly long product names — they get cut off and make your layout messy.
- Add product categories and filters: This helps customers sort items more efficiently, especially if you have a larger inventory.
You can also experiment with themes that offer enhanced control over the shop layout — many free themes on WordPress.org (like Astra, OceanWP, or Storefront) offer layout presets, custom colors, and font adjustments without needing extra tools.

Let’s connect and grow—follow our daily journey on Instagram.
How to Use Elementor to Edit a WooCommerce Product Page (Free)
You’re already ahead of the game if you’re using Elementor, even if it’s the free edition. Elementor lets you visually customize pages without touching a line of code. While the free version doesn’t let you build complete WooCommerce product templates, you can still make valuable edits.
Customize Product-Related Pages
Start by editing the pages that surround your product content, like:
- The Shop page – You can use Elementor to add sections like:
- A welcome message at the top
- A featured product banner
- Trustmarks such as “100% Satisfaction Guaranteed” or “Free Shipping”
- Category pages – These can be customized with headings, descriptions, and design elements using the WordPress Customizer or Elementor sections above and below the product listings.
- Landing pages – Create custom pages using Elementor that highlight specific product collections or promotions. Then, link to these from your menus or homepage.
Use Pre-Made Elementor Sections
Elementor offers pre-built sections (even in the free version) that you can drag and drop into your layout. These include testimonials, FAQs, call-to-action banners, and image galleries — all useful to build trust and add value around your products.
While you can’t directly edit the product page template with the free version, you can still influence the experience by creating custom blocks and placing them strategically around product pages using shortcodes or widget areas (depending on your theme).
How to Use Elementor Free to Edit Product Pages in WooCommerce
Let’s get one thing straight: you don’t need Elementor Pro to make your product pages feel polished.
Even with the free version, you can:
- Add new content before or after the product grid using the regular WordPress editor or Elementor sections
- Create custom landing pages for top-selling products and style them freely with Elementor
- Insert promotional banners, explainer sections, or FAQ blocks on pages that link to your products
Make the Page Feel More “You”
WooCommerce’s default product layout is functional but bland. Here are some creative, non-technical ways to make it feel more personal and engaging:
- Add lifestyle photos above the shop grid to create context
- Include text blocks that explain your mission or what makes your products special
- Use Elementor to place social proof (like reviews or Instagram posts) on shop-related pages
- Include custom sections for promotions — like “Bundle & Save” or “Weekly Picks”
Many store owners overlook this part because they think they need to be developers. You don’t. With a bit of creative thinking and Elementor’s drag-and-drop tools, you can enhance the experience visually and emotionally — which is what drives conversions.
Final Thoughts
When you’re building a WooCommerce store, you don’t have to spend a fortune or become a coder to make it look good. With free tools like Elementor and WooCommerce’s own customizer settings, you can shape both your product listing page and product detail pages to match your brand’s tone, style, and values.
Start simple: organize your shop grid, improve how products are displayed, and enhance the shopping experience with helpful content. Then layer in visual branding, trust elements, and strategic banners using Elementor.
Remember — every small improvement adds up. A better-looking, better-organized store doesn’t just impress your visitors; it helps them trust you and feel confident in making a purchase.




No comment